For many people starting out with technology, the idea of using email can feel confusing and overwhelming. You might find yourself staring at multiple inboxes, unsure what “IMAP” means when you set up a new account, and hesitant to hit “Reply All” for fear of making a mistake. Email has evolved into its own culture with unwritten rules, and diving in without a guide can lead to frustration, clutter, or even security mishaps.
Mastering how to use email for beginners isn’t about memorizing technical jargon; it’s about understanding the core, practical steps to communicate efficiently and safely across your devices. This guide will walk you through everything from picking the right app to writing proper emails, whether you’re on an iPhone, an Android phone, a Mac, or a Windows PC.
Setting Up Your Email Account for the First Time

Your first step is choosing an email provider. The common free options are Gmail (from Google), Outlook.com (from Microsoft), Apple’s iCloud Mail, and Yahoo Mail. For most beginners, Gmail or Outlook.com are excellent starting points due to their straightforward interfaces and seamless integration across devices.
Once you’ve created an account online, you’ll want to access it from your phone and computer. This is where many get tripped up by the setup process.
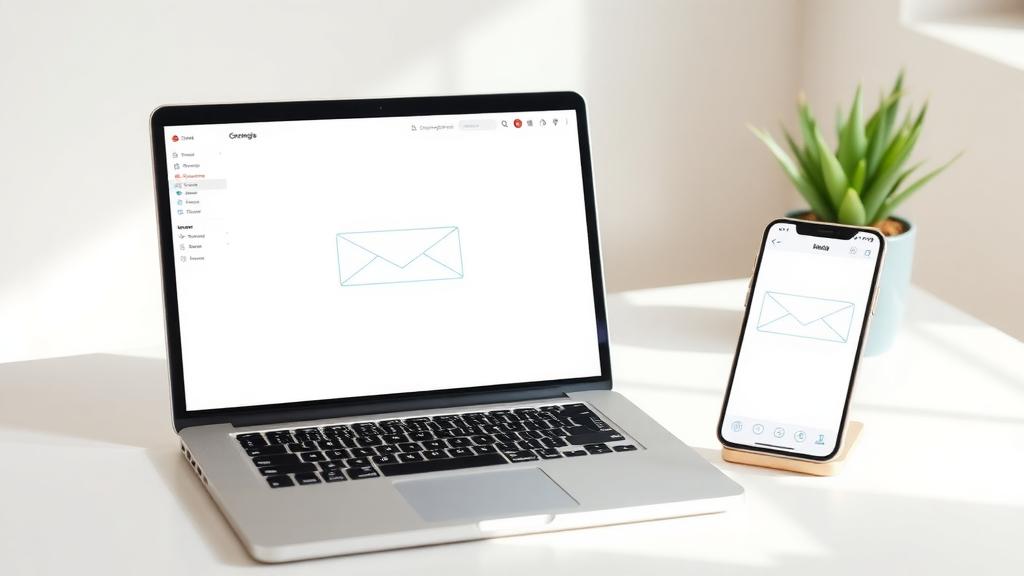
Adding Your Account to Your Smartphone
- On iPhone: Go to Settings > Mail > Accounts > Add Account. You’ll see icons for common providers like Google (Gmail), Microsoft Exchange (for Outlook/Hotmail), and Yahoo. Tap the right one, log in, and your email will sync to the built-in Mail app.
- On Android: The process varies slightly by manufacturer, but you typically open the Gmail app (pre-installed), tap your profile picture in the top right, then “Add another account.” For non-Gmail accounts, Android will often guide you through a similar wizard to configure it.
If the automatic setup fails, you’ll need to enter some details manually. This usually requires your full email address, password, and server settings you can get from your provider’s help page.
Adding Your Account to Your Computer
- On Windows: Use the built-in Mail app. Open it, click “Add account,” select your provider (e.g., Outlook, Google, Yahoo), and follow the login prompts. It handles the technical details for you.
- On Mac: Use the Apple Mail app. Go to Mail > Add Account, choose your provider, and sign in.
The Anatomy of an Email: Understanding the Interface
Whether using an app or website, all email interfaces share common elements. Knowing what each part does eliminates confusion.
- Inbox: The main folder where new, incoming emails arrive.
- Compose / New: The button (usually a “+” or pencil icon) you click to start writing a new email.
- To, Cc, Bcc: These are the address fields.
- To: The primary recipient(s) who need to take action or are the main audience.
- Cc (Carbon Copy): For people who should see the message but aren’t expected to reply (like keeping a manager informed).
- Bcc (Blind Carbon Copy): Hides the email addresses of everyone in this field from each other. Use for mass mailings to protect privacy.
- Subject Line: A short, clear summary of your email’s content. Never leave this blank.
- Attachments: The paperclip icon lets you attach files (photos, documents) from your device.
How to Write an Email for Beginners: Etiquette and Clarity
A well-written email is respected and gets results. Follow this simple step-by-step structure.
- Start with a proper greeting. Use “Hi [Name],” or “Hello [Name],” for most situations. Avoid overly casual “Hey” unless you know the person well.
- State your purpose clearly in the first line. Don’t bury the lead. For example: “I’m writing to follow up on our meeting yesterday,” or “This email is to request vacation dates for July.”
- Keep the body concise and scannable. Use short paragraphs and bullet points for multiple items. Ask direct questions if you need a response.
- End with a clear closing. Use phrases like “Best regards,” “Sincerely,” or “Thank you,” followed by your full name.
- Proofread before sending. Check for typos, ensure you’ve attached any files you mentioned, and double-check the “To” field.
Organizing and Managing Your Inbox
A chaotic inbox is stressful. Use these features to gain control.
- Folders/Labels (Gmail): Create folders for different topics (e.g., “Work,” “Receipts,” “Family”). Move emails into them by dragging and dropping or using the “Move to” option. This is essential for how to use Outlook email for beginners as well, where the folder system is very prominent.
- Archive vs. Delete: Archiving (the box-with-down-arrow icon) removes an email from your Inbox but keeps it searchable in “All Mail.” Delete (the trash can icon) sends it to the Trash, which is usually emptied after 30 days.
- Unsubscribe Relentlessly: For promotional emails you no longer want, scroll to the bottom and click “Unsubscribe.” This is safer and more effective than just deleting them.
- Use the Search Bar: Don’t scroll forever. Search by sender name, keyword, or date to find old emails instantly.
Essential Safety and Security Practices
Your email is the key to many of your online accounts, so protecting it is critical.
- Recognize Phishing Scams: Be extremely wary of emails that create a sense of urgency, ask for passwords or payment, or come from suspicious addresses. Learn more about spotting fake and scam emails.
- Never Use Public Wi-Fi Without a VPN: If you must check email on public Wi-Fi (at a café, airport), use a VPN app to encrypt your connection.
- Enable Two-Factor Authentication (2FA): This adds a second verification step (like a text code) when logging in from a new device. Turn this on in your email account’s security settings immediately.
- Log Out on Shared Computers: Always click “Sign out” when using a public or shared computer.

For more details, see Google’s official Gmail help center.